这篇文章介绍下spring-cloud声明性REST客户端[Feign]
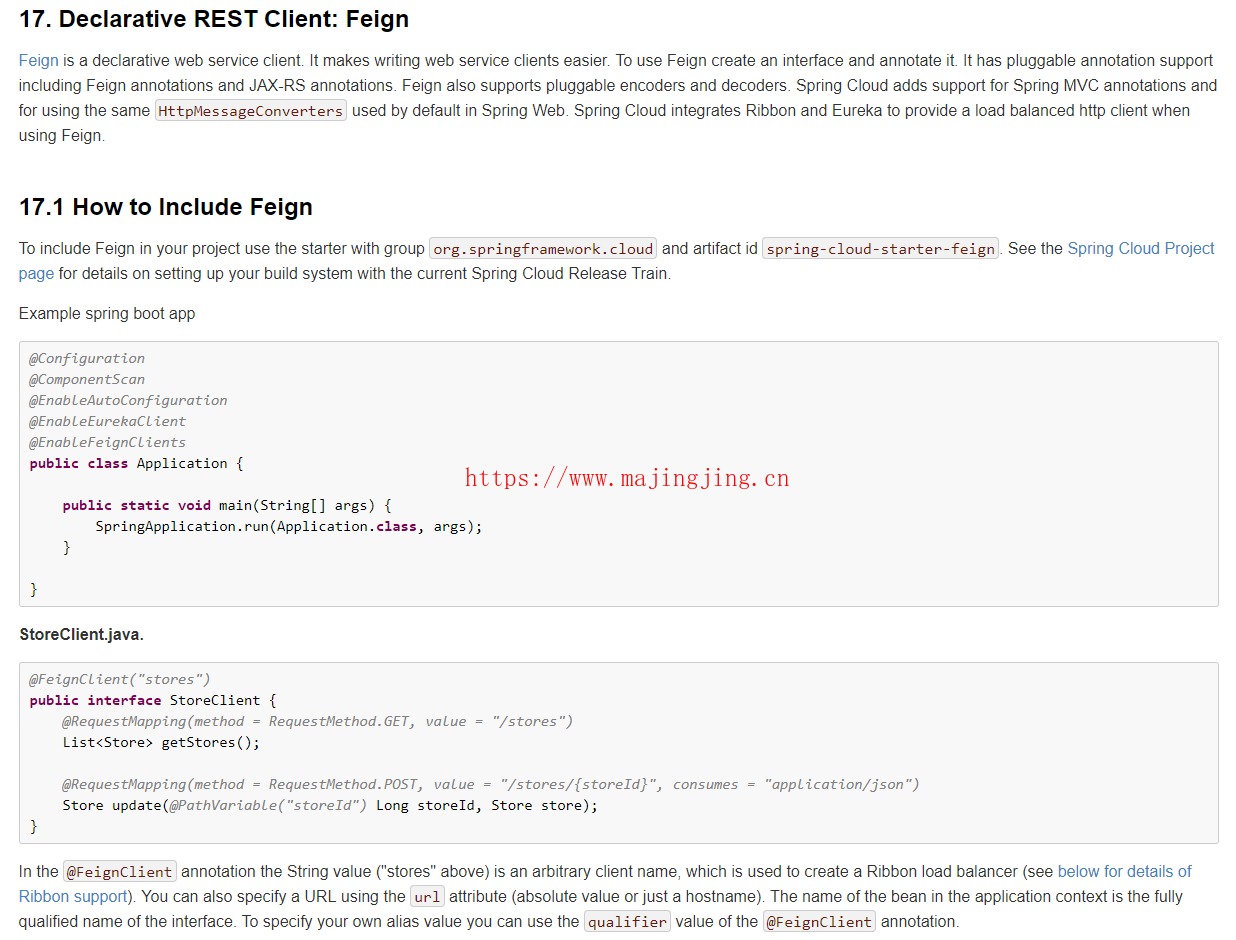
先看下官方文档的描述

本案例在将spring-cloud(一)服务的注册与发现中的eureka及server案例基础上进行改造。
1.创建一个spring-boot项目 tm-service-feign
2.在pom文件中增加feign依赖支持
<dependency>
	<groupId>org.springframework.cloud</groupId>
	<artifactId>spring-cloud-starter-feign</artifactId>
</dependency>
3.在application.yml中增加eureka注册中心,及服务名称
eureka:
  client:
    serviceUrl:
      defaultZone: http://localhost:8761/eureka/
server:
  port: 8765
spring:
  application:
    name: service-feign
4.在启动类上增加注解 @EnableFeignClients
@SpringBootApplication
@EnableDiscoveryClient
@EnableFeignClients
public class ServiceFeignApplication {

	public static void main(String[] args) {
		SpringApplication.run(ServiceFeignApplication.class, args);
	}
}
5.创建service接口,在类上增加 @FeignClient
@FeignClient(value = "service")
public interface IHelloService {
	@RequestMapping(value = "/hello", method = RequestMethod.GET)
	String hello(@RequestParam(value = "name") String name);
}
6.创建controller使用service调用远程服务
@RestController
public class HelloController {

	@Autowired
	IHelloService helloService;

	@RequestMapping(value = "/hello", method = RequestMethod.GET)
	public String hello(@RequestParam(name = "name", defaultValue = "皇太极") String name) {
		return helloService.hello(name);
	}
}
7.分别启动tm-eureka-server,tm-service(修改端口8763再启动一次),tm-service-feign
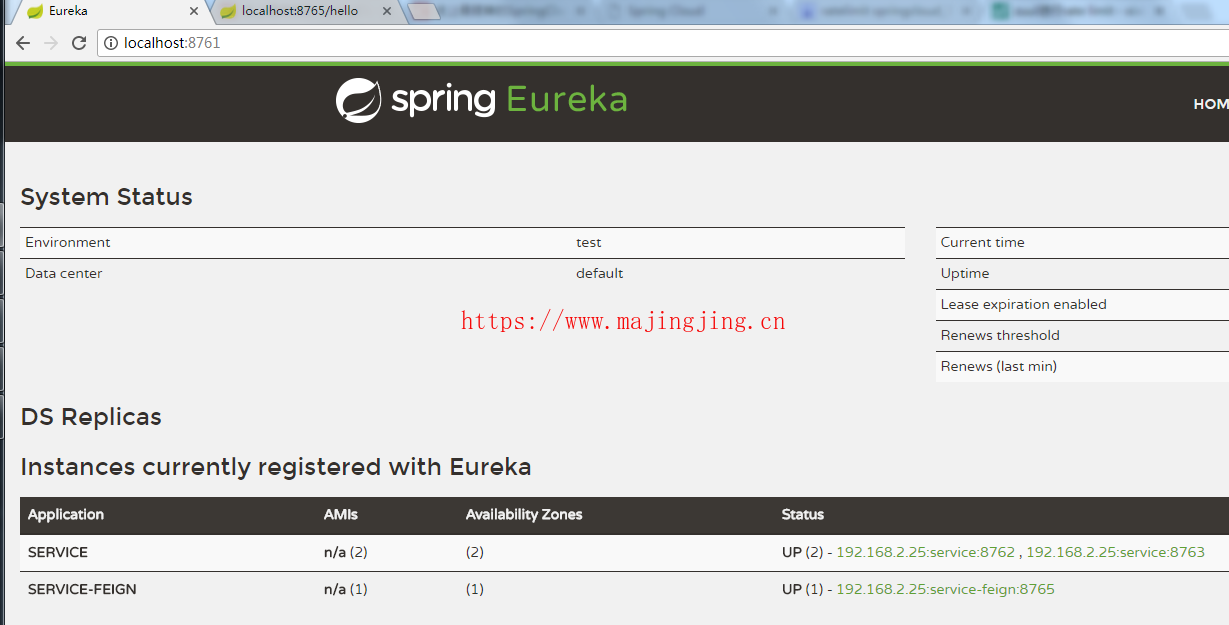
8.浏览器访问 http://localhost:8761/

访问 http://localhost:8765/hello


此时可以发现tm-service-feign服务正常调用到tm-service提供的服务,并且可以观察到端口是8762和8763交替出现的,说明已经完成了负载均衡的效果。 因为Feign默认集成了Ribbon,并和Eureka结合,默认实现了负载均衡的效果。 这个原理和源码部分后续会再解释。
 打赏下吧
打赏下吧

