上一篇文章介绍了服务消费者[Feign],这篇文章紧接着讲述下Hystrix和feign的集成使用
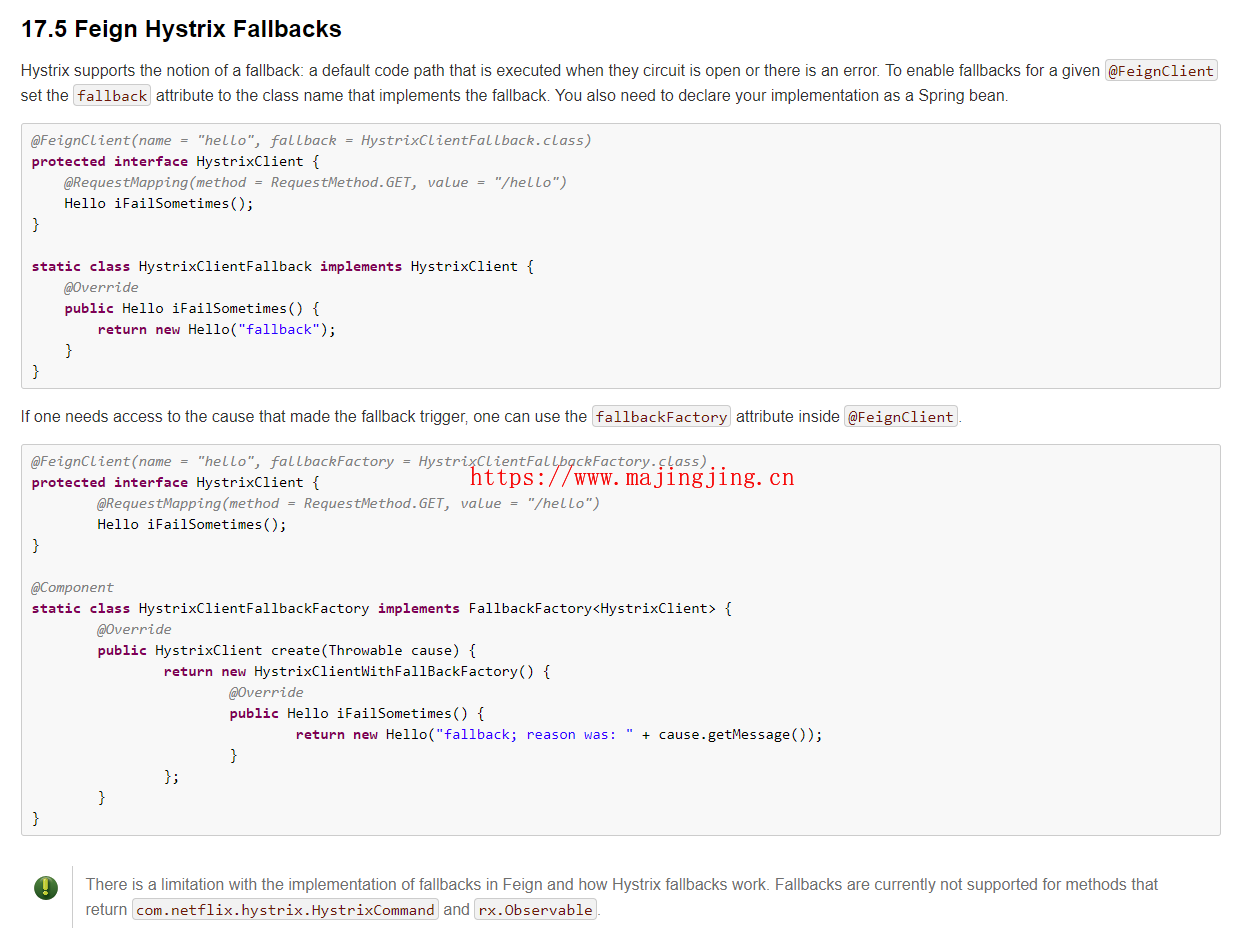
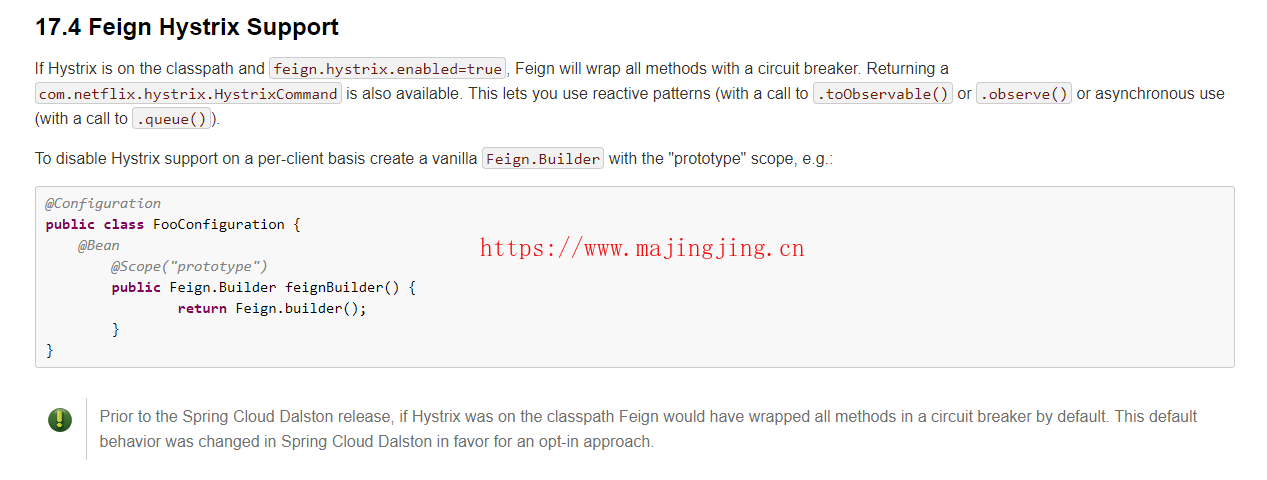
先看下官网的描述


Hystrix客户端
本案例在spring-cloud(三)服务消费者[Feign]案例基础上进行改造。
1.新建HelloServiceHystric类实现IHelloService接口
@Component
public class HelloServiceHystric implements IHelloService{

	@Override
	public String hello(String name) {
		return String.format("Hystric :  hello %s", name);
	}

}
2.修改 IHelloService 接口在@FeignClient注解里增加 fallback 的指定类即可
@FeignClient(value = "service", fallback = HelloServiceHystric.class)
public interface IHelloService {
	@RequestMapping(value = "/hello", method = RequestMethod.GET)
	String hello(@RequestParam(value = "name") String name);
}
3.分别启动tm-eureka-server,tm-service-feign 在浏览器访问 http://localhost:8765/hello

4.在application.yml中增加配置 (Feign是自带断路器的,这里需要开启)
feign:
  hystrix:
    enabled: true

5.再启动 tm-service ,刷新浏览器

到此已经看到断路器已经成功了。
Hystrix Dashboard
1.在pom.xml引入hystrix-dashboard的依赖支持
<dependency>
	<groupId>org.springframework.boot</groupId>
	<artifactId>spring-boot-starter-actuator</artifactId>
</dependency>
<dependency>
	<groupId>org.springframework.cloud</groupId>
	<artifactId>spring-cloud-starter-hystrix</artifactId>
</dependency>
<dependency>
	<groupId>org.springframework.cloud</groupId>
	<artifactId>spring-cloud-starter-hystrix-dashboard</artifactId>
</dependency>
2.在启动类上增加注解 @EnableHystrix,@EnableHystrixDashboard
@SpringBootApplication
@EnableDiscoveryClient
@EnableFeignClients
@EnableHystrix
@EnableHystrixDashboard
public class ServiceFeignApplication {

	public static void main(String[] args) {
		SpringApplication.run(ServiceFeignApplication.class, args);
	}
}
3.启动项目 tm-service-feign
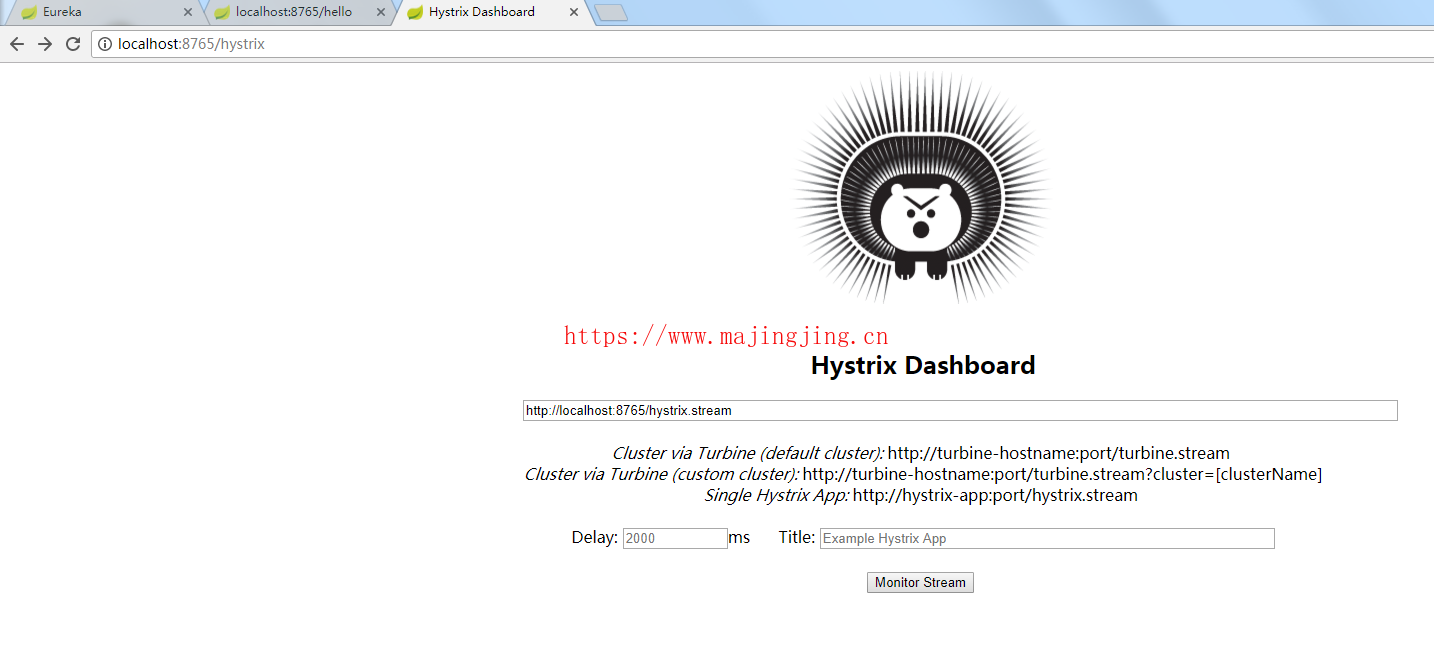
4.浏览器访问 http://localhost:8765/hystrix

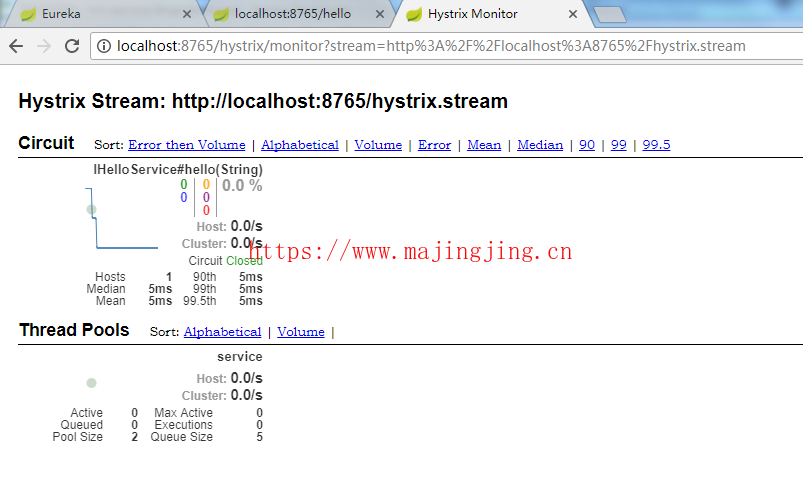
在输入框输入 http://localhost:8765/hystrix.stream 点击monitor stream按钮 ,就看到监控画面

 打赏下吧
打赏下吧

